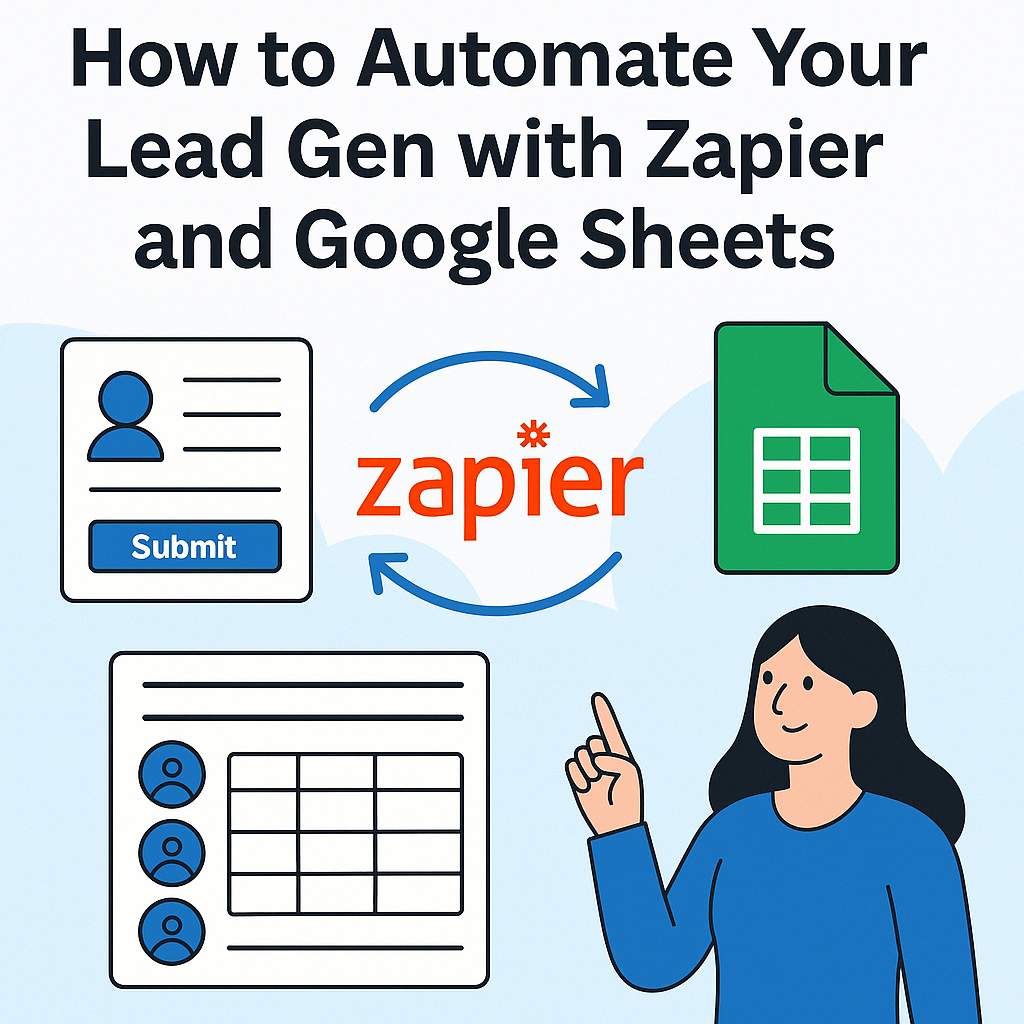
How to Automate Your Lead Gen with Zapier and Google Sheets
Introduction
Generating high-quality leads consistently is the lifeblood of any growing business. But manually copying form entries, updating spreadsheets, and pinging teammates can become a time sink—and a source of data errors. What if you could automate your lead gen workflow so new contacts flow seamlessly from your website into a live Google Sheet (and beyond) without you lifting a finger?
In this guide, you’ll learn how to automate lead generation using Zapier and Google Sheets, cutting down manual data entry, improving accuracy, and freeing up your time for strategy and closing deals.
Why Automate Lead Generation?
- Save Time: Eliminate repetitive copy-paste tasks and data clean-up.
- Reduce Errors: Automatic transfers prevent typos and missing fields.
- Scale Effortlessly: Whether you get 10 or 1,000 submissions a day, your process stays rock-solid.
- Real-Time Insights: With live updates in Google Sheets, you and your team can act on hot leads immediately.
What You’ll Need
Step-by-Step Setup
1. Create Your Google Sheet
- Go to Google Sheets and click Blank to create a new spreadsheet.
- Rename the sheet to something like
Lead Tracker. - In row 1, add column headers matching the data you want (e.g.,
Timestamp,Name,Email,Company,Notes).
Tip: Use consistent header names to make mapping fields in Zapier straightforward.
2. Build a Zap in Zapier
- Log in to Zapier and click + Create Zap.
- Choose Your Trigger App:
- Search for your form or CRM (e.g., Typeform, Google Forms, HubSpot).
- Select the trigger event (e.g., New Entry, New Form Response, New Contact).
- Connect Your Account:
- Authorize Zapier to access your form or CRM account.
- Customize Trigger:
- Select the specific form or pipeline stage you want to monitor.
- Test Trigger:
- Zapier will fetch a sample entry to confirm everything’s connected.
3. Add Google Sheets as an Action
- In the same Zap, click + Add Action.
- Choose App: Select Google Sheets.
- Action Event: Pick Create Spreadsheet Row.
- Connect Your Google Account: Grant Zapier access.
- Set Up Action:
- Spreadsheet: Choose your
Lead Tracker. - Worksheet: Typically
Sheet1(or whatever you named it). - Map Fields: Assign each form/CRM field to the corresponding column.
- Spreadsheet: Choose your
- Test Action:
- Run a test to ensure a new row appears in your sheet.
Pro Tip: If you collect attachments or long notes, consider creating columns for file URLs or multi-line text.
4. (Optional) Add Notifications or Follow-Up Steps
To accelerate your response time, you can chain more actions:
- Slack Notification: Send a message to your sales channel when a new lead arrives.
- Gmail Follow-Up: Automatically email a welcome note to the new contact.
- CRM Update: Push the same data into HubSpot, Salesforce, or Pipedrive for sales tracking.
Each new action in Zapier follows the same Choose App → Select Event → Map Fields → Test pattern.
Best Practices for Seamless Automation
- Use Filters: Add a Filter step in Zapier to process only leads that meet specific criteria (e.g., location = “USA”).
- Name Your Zaps Clearly: E.g.,
Form A → Google Sheets (Leads)for easy management. - Monitor Task Usage: On the free plan, you get 100 tasks/month—upgrade if you need more.
- Keep Your Sheet Clean: Periodically archive old leads to a separate tab to keep performance snappy.
- Enable Zapier Paths: Create conditional logic (e.g., “If industry = Tech, send to Tech sheet; else send to General”).
Conclusion
By connecting your lead capture tools to Google Sheets with Zapier, you turn a once-tedious manual process into an automated, reliable system. You’ll:
- Capture every lead accurately in real time
- Empower your team with up-to-date data
- Free yourself to focus on closing deals and optimizing campaigns
Ready to reclaim your time and supercharge your sales pipeline? Set up your Zap today, and watch your lead gen go from chaos to clarity—without writing a single line of code.